Adding Toe Brakes to a Piper Cherokee
How to add pilot and co-pilot toe brakes to a Piper Cherokee.
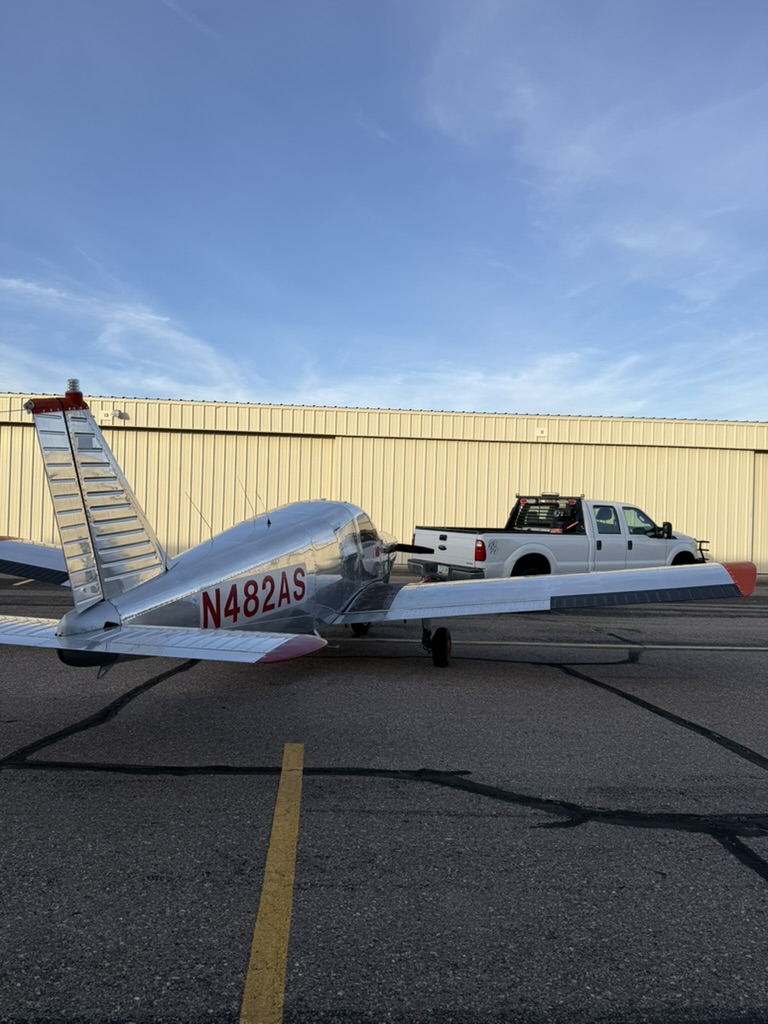
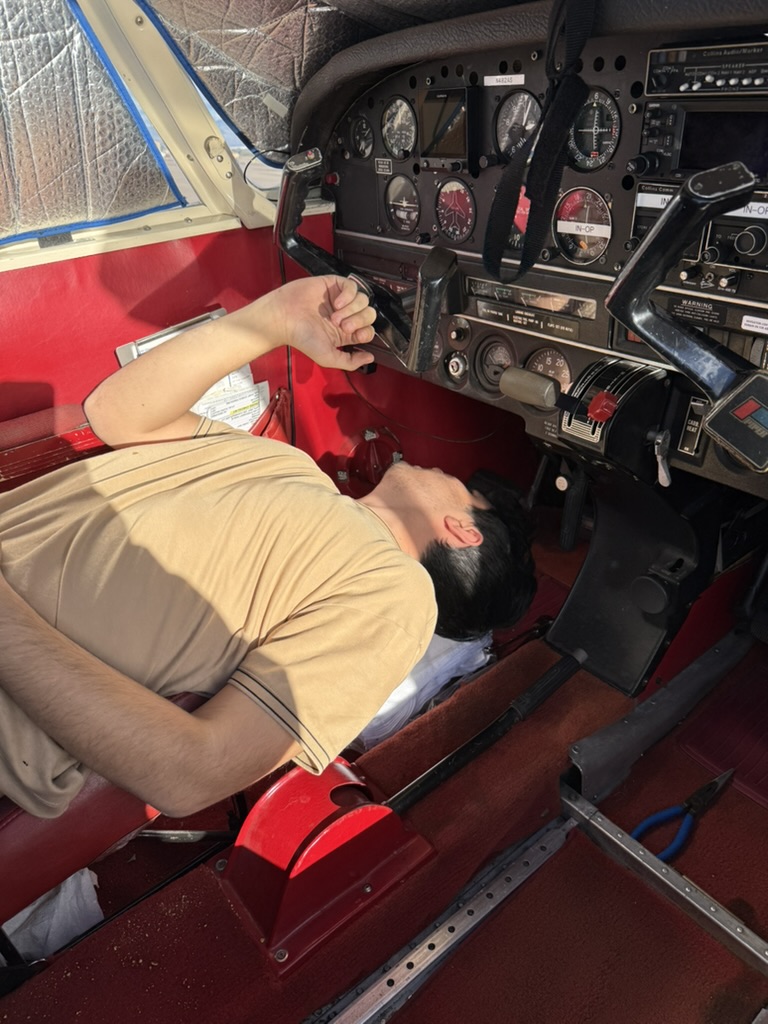
Upgrading a Cherokee or Warrior from a single hand brake (or pilot-only toe brakes) to dual pilot and copilot toe brakes is one of the most practical ergonomics improvements you can make. However, it is an involved project that requires working upside down under the instrument panel, precise mechanical rigging, and careful hydraulic plumbing.
This guide outlines the complete process using OEM Piper components sourced from salvage, referenced to Piper PA-28 Series Service Manual Section VI (Landing Gear and Brake System) and FAA Type Certificate Data Sheet (TCDS) 2A13.
1. Parts Sourcing & Airworthiness Inspection
Cross-reference FAA TCDS 2A13 and the Piper PA-28 Parts Catalog to confirm exact part numbers for your model suffix. Salvage parts must be inspected for airworthiness prior to installation:
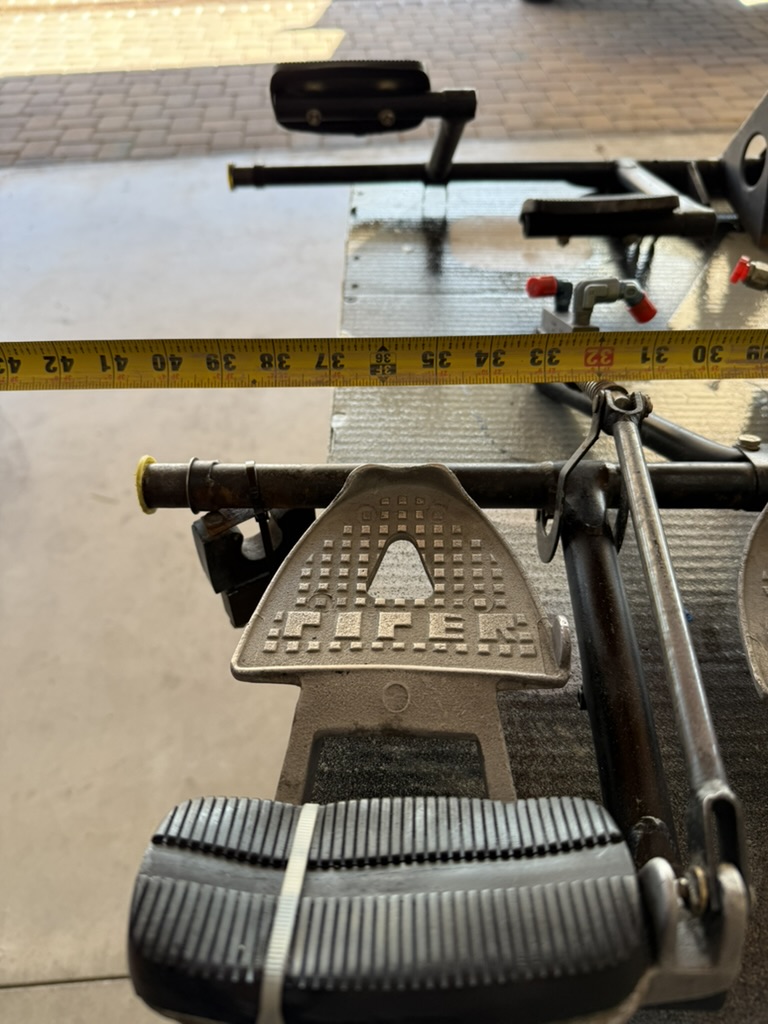
- ›Toe Brake Pedals: Check pivot bores for wear or oblong elongation.
- ›Master Cylinders (Gar-Kenyon or Cleveland): Disassemble, inspect internal bores for pitting, and install new O-rings (MIL-H-5606 compatible, typically MS28775 or NAS1611 series).
- ›Rudder Bars & Torque Tubes: Check for structural cracks, corrosion, or twisted arms.
2. Teardown, Cleaning, and Refinishing
Pedal Removal
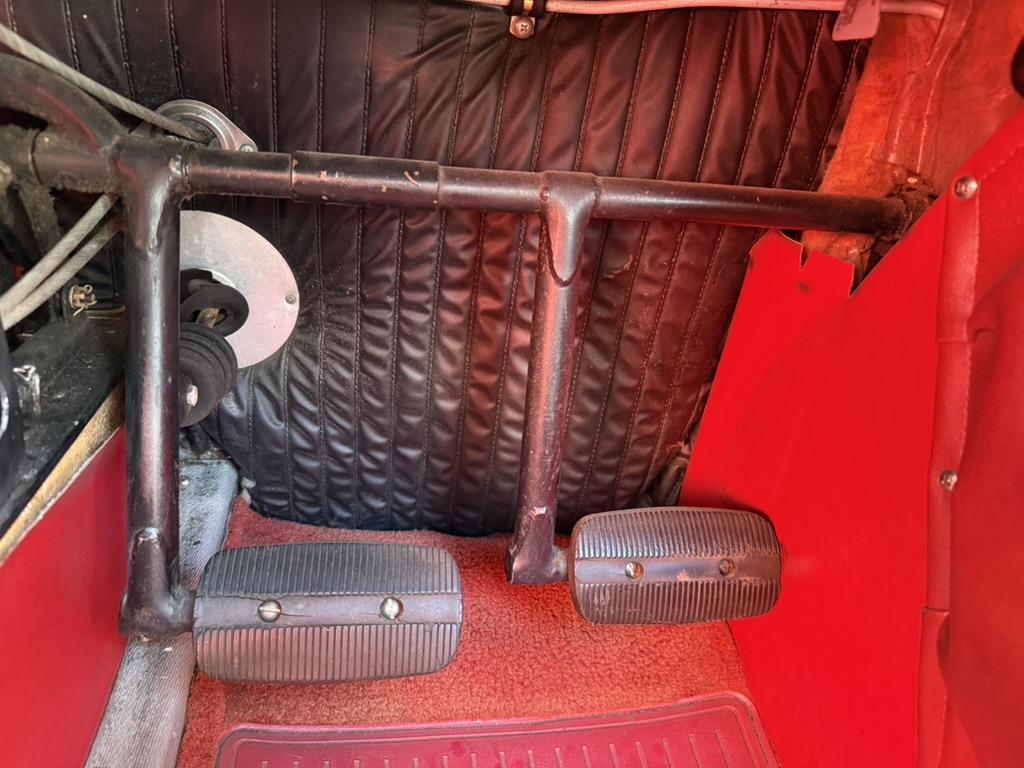
Remove the existing forward rudder pedal assemblies and floorboards according to Service Manual Section VI:
- Disconnect rudder cables and brake linkage pins.
- Remove mounting blocks and pull torque tubes.
- Refinishing: strip old paint, inspect bare metal, prime with corrosion-inhibiting epoxy primer, and topcoat.
- Clean all pivot points, bushings, and clevis mounts. Apply fresh grease/lubricant per Piper lubrication charts upon reassembly.
3. Assemble Dual Toe Brake Linkages
Hardware & Pins
Reinstall the refinished rudder pedal tubes and mount the toe brake pedals to both pilot and copilot stations:
- Attach upper toe brake pedals to rudder bar mounting ears using approved AN hardware (AN3/AN4 bolts, NAS washers, and AN310 castellated nuts with new MS24665 cotter pins).
- Mount the master cylinders to the toe brake pedal arms and lower torque tube fittings.
- Verify all clevis pins, bushings, and cotter pins are free from binding and move smoothly through their full range of motion.
4. Plumb Hydraulic Lines & Interconnects
Rigid & Flexible Plumbing
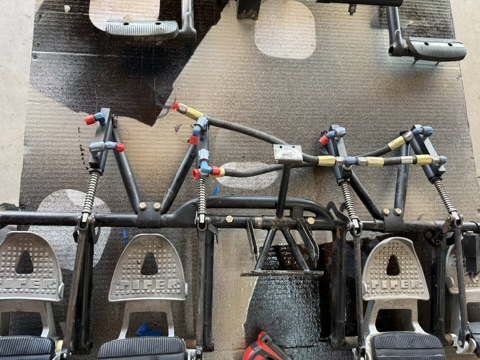
Connect the four master cylinders into the existing brake system series/parallel loop:
- Route flexible rubber/Teflon hoses from the reservoir down to the copilot master cylinders, then in series to the pilot master cylinders, and out to the main landing gear lines.
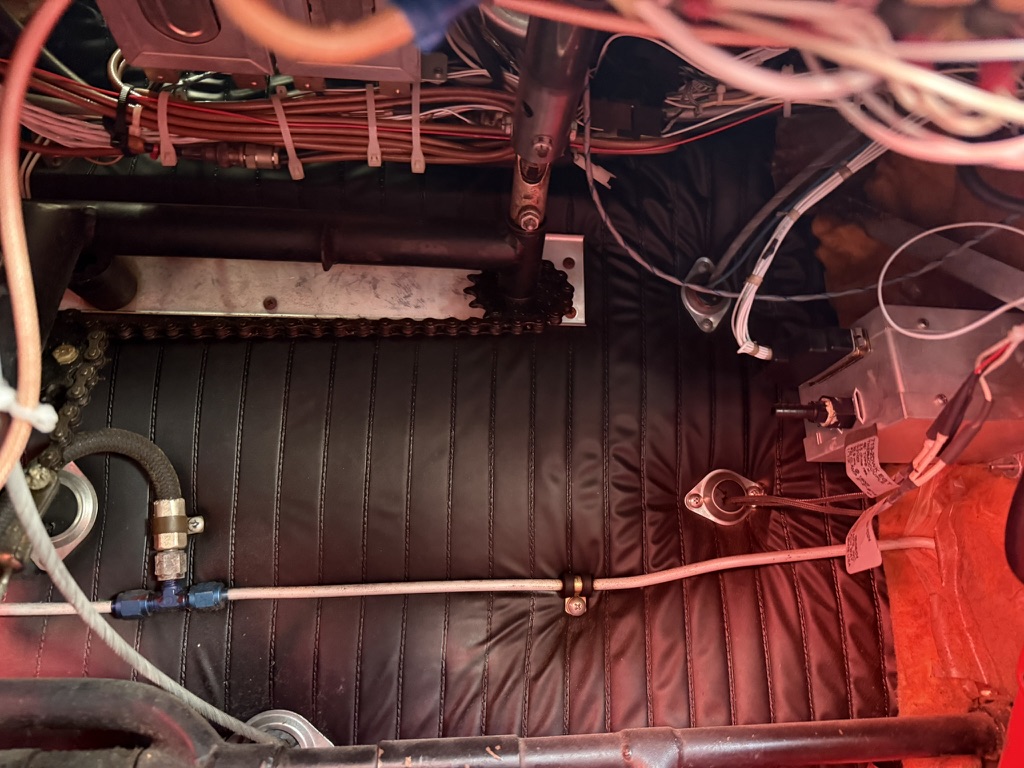
- Secure fluid lines away from flight control cables, rudder bars, and steering linkages using MS21919 cushion clamps (Adel clamps) and approved zip ties where appropriate.
- Maintain minimum bend radii and ensure no hose rubs against structure during full rudder pedal travel.
5. Flush and Bleed the Hydraulic System
MIL-H-5606 Fluid
- Fill the reservoir with clean MIL-H-5606 mineral-base hydraulic fluid.
- Pressure-bleed or bottom-up pressure-fill from the brake bleeder valves on the main gear calipers to push air upward toward the reservoir.
- Cycle both pilot and copilot toe brake pedals repeatedly during bleeding to clear air pockets trapped inside individual master cylinder cavities.
6. Verify Control Travel and System Integrity
Final Sign-Off Verification
- Travel Check: Verify full left and right rudder travel without interference between brake cylinder rods, hoses, or lower firewall structure.
- Pedal Firmness: Depress pilot and copilot toe brakes simultaneously and individually; pedal feel must be firm with zero sponginess.
- Leak Inspection: Apply hard pressure on all four toe brake pedals for 60 seconds. Inspect all flare fittings, hose ends, and cylinder shaft seals for fluid seepage.
Why Professional Installation Matters
Working beneath a Cherokee panel requires working around delicate wiring harnesses, fuel lines, vacuum plumbing, and primary flight controls. Improperly routed hydraulic lines can chafe against rudder cables, and incorrectly rigged master cylinder clevises can result in dragging brakes or uncommanded directional control issues on landing.